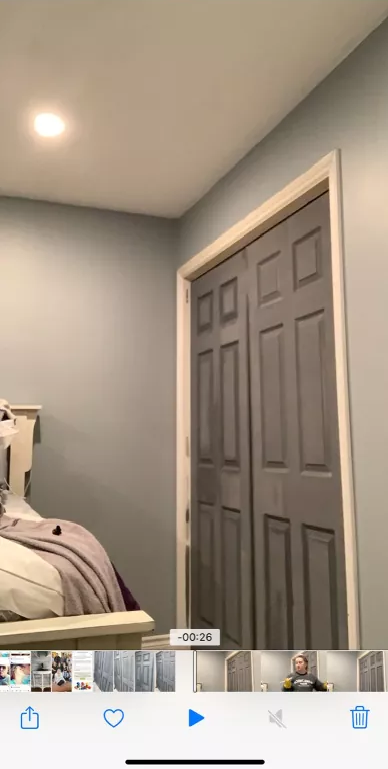
This is after the first coat of paint. I decided to mix my own paint as I did not have grey paint on hand. I also learned a lesson by doing this… I would not recommend using three different colours of paint to make your own unless you originally mix enough paint for your whole project. I ran into an issue with colour variations as I did not originally mix enough paint. Second time around I decided to only use Rust-Oleum Chalk paint in linen white and Beauty Tone interior black paint to make my desired grey colour (I also made enough + had left over).
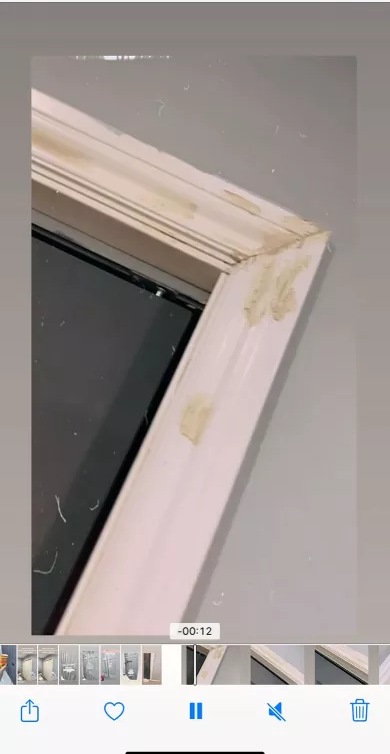
I also decided to give the trim a makeover as it badly needed it! So I filled the any holes with a wood filler. I then sanded down the excess after it dried with 120 grit sand paper. I then used white paint and gave the trim two coats of paint.
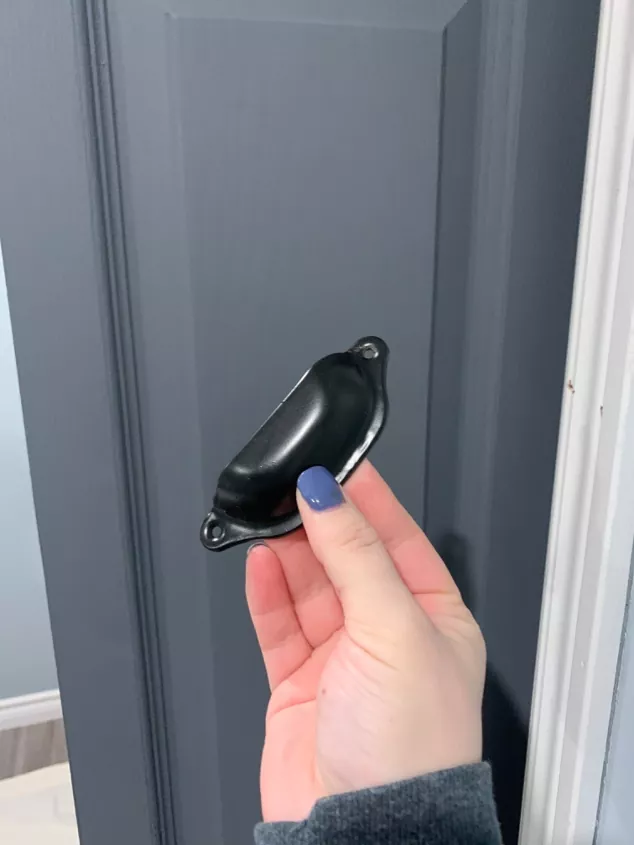
I then finished off the look with new hardware I had laying around. I wanted something different than the normal knobs that are generally on closet doors. So I decided to go with these pulls. I didn’t bother covering all of the previous holes as the new hardware covered them up. I just had to drill a few new holes.
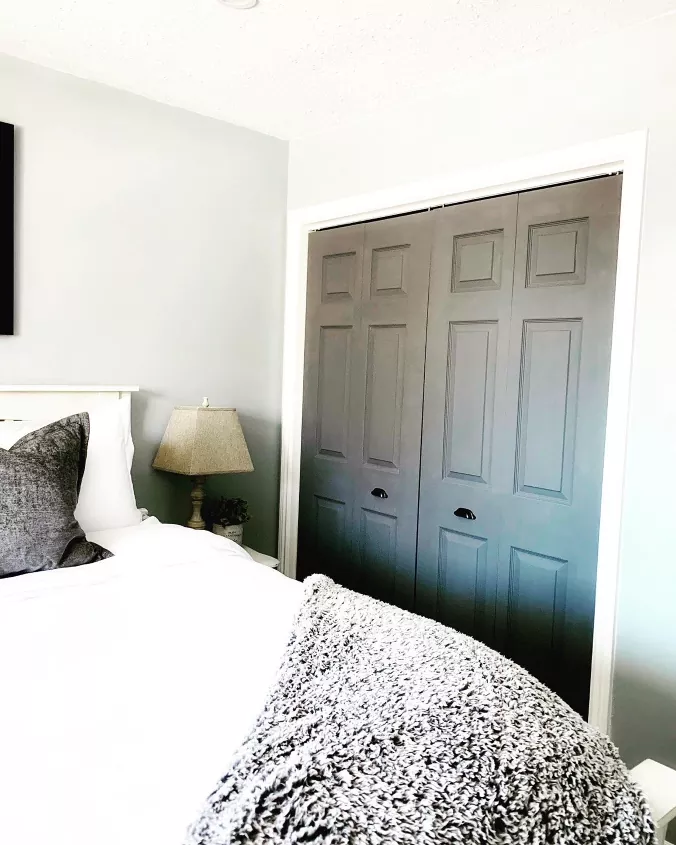
This is the finished project & I couldn’t be happier with how it turned out. It definitely gave this space a fresh new look!